The first step in surgical preparation is anesthesia and covering of the hip area. Once you are under anesthesia, an incision is made down the side of the upper thigh to expose the joint and give your surgeon free access to the diseased or damaged bones.
There are different positions from which to perform hip replacement surgery; your doctor may choose to operate on the joint from the side, back or front depending upon which is best for your condition, anatomy and surgical needs. Approaching the surgery from the back of the hip is the most common.
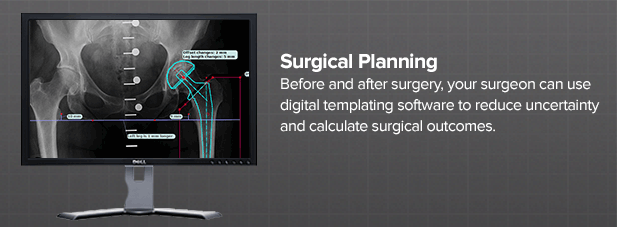
Your surgeon may plan the implant insertion before the surgery using diagnostic X-Rays and the surgical navigation planning software to template the size, style and position of the implants.
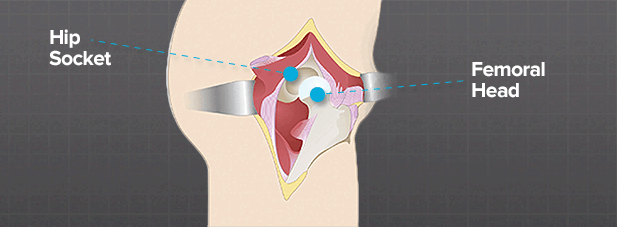
Your surgeon must prepare both the head of the femur as well as the hip socket when performing total hip replacement surgery.
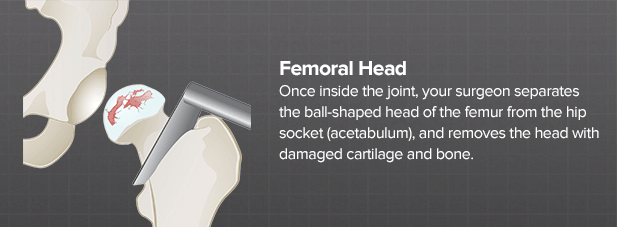
Once inside the joint, your surgeon separates the ball-shaped head of the femur from the hip socket (acetabulum), and removes the head with damaged cartilage and bone.
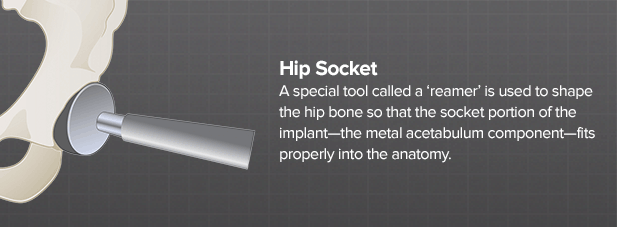
A special tool called a ‘reamer’ is used to shape the hip bone so that the socket portion of the implant—the metal acetabulum component—fits properly into the anatomy.